You spent hours measuring, cutting, and sanding that perfect crown molding—only to see gaps, dents, or crooked joints after nailing it by hand. Frustrating? Absolutely. And hammering finish nails isn’t just slow—it’s destructive. The solution isn’t more patience. It’s the right tool: a brad nailer gun.
The Hidden Cost of “Just Using a Hammer”
Most DIYers assume finish work is about precision cuts. Wrong. It’s about invisible fastening. A hammer leaves divots, splits thin stock, and causes misalignment under pressure. You end up filling holes, repainting, or worse—ripping it down and starting over. And time? You’ve lost half your weekend on what should’ve taken 90 minutes.
Here’s the reality: wood moves. When you force a nail in manually, you compress fibers unevenly. The result? Warping days later. Professionals don’t rely on muscle—they rely on controlled pneumatic or electric impulse.
How to Nail Trim Like a Pro (Without Years of Apprenticeship)
Forget vague YouTube tips. This is the exact workflow we use on $50K+ custom interiors at Ressel Construction.
Select Your Brad Nailer Gun Wisely
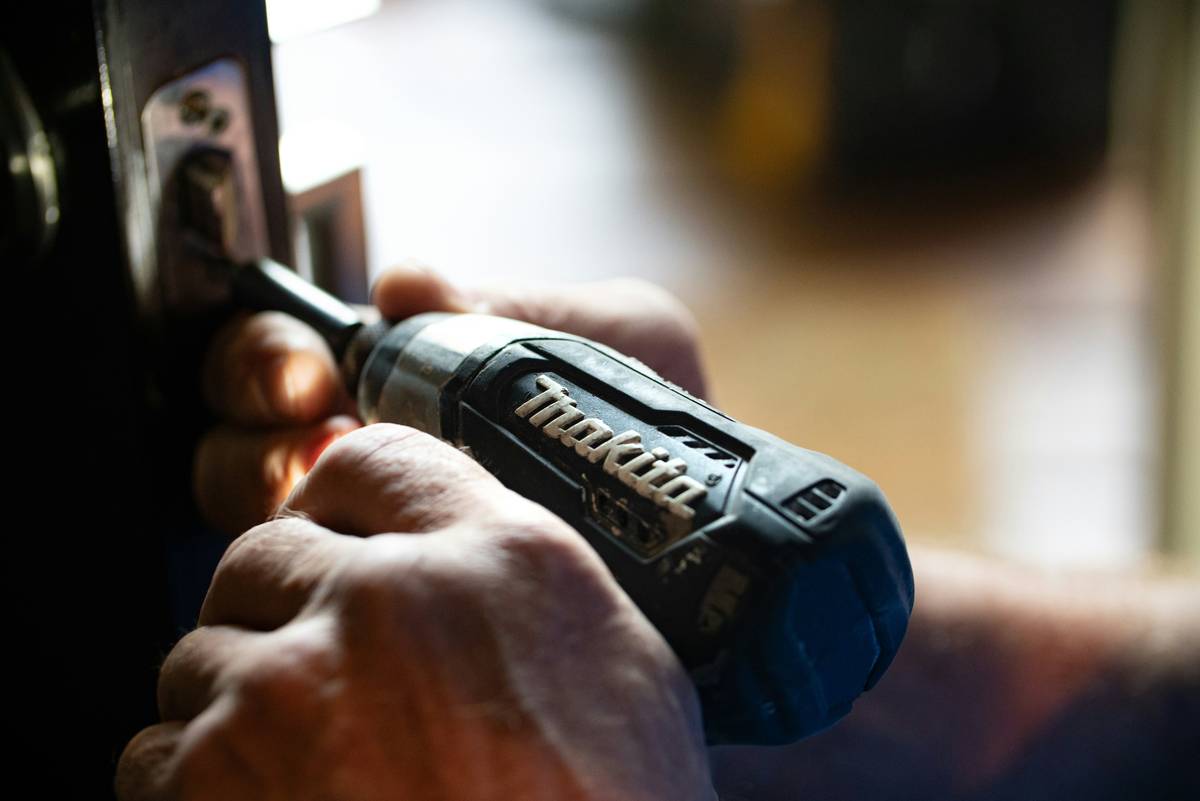
Not all brad nailers are equal. For baseboards and window casings, 18-gauge is ideal—thin enough to vanish, strong enough to hold. Avoid cheap electric models with inconsistent depth control. Stick with brands like DeWalt, Bostitch, or Makita for consistent drive force.
Prep Is Non-Negotiable
Clean your surface. No dust, no glue squeeze-out. Clamp pieces lightly before nailing—this prevents shifting mid-drive. And always test-fire on a scrap piece first. Adjust depth until the nail head sits just below the surface—no mallet needed for setting.
Nail Spacing & Angle Matters More Than You Think
Place nails every 12–16 inches on straight runs. Near corners or miters? Double up—6 inches apart. Drive at a slight angle (about 15 degrees) toward the stud or substrate. This creates mechanical tension that locks the piece in place as humidity shifts.
| Fastening Method | Time per 10 ft Trim | Risk of Damage | Finish Quality |
|---|---|---|---|
| Hammer + Finish Nails | 45–60 min | High | Poor (requires filler & touch-up) |
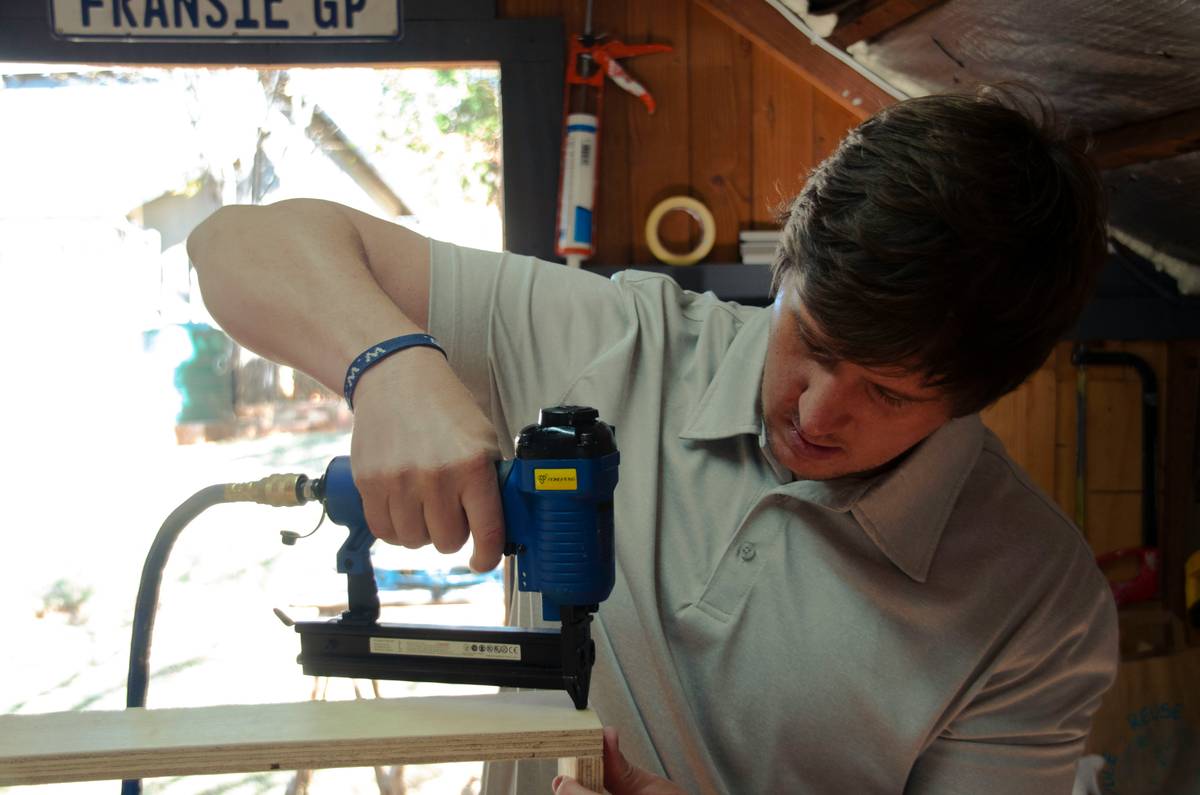
| Brad Nailer Gun | 8–12 min | Low | Excellent (nearly invisible) |
| Pin Nailer | 10–15 min | Medium | Fair (holds but lacks shear strength) |
The Industry Secret No One Admits
Top trim carpenters keep two brad nailers on site—one loaded with 5/8″ brads for delicate moldings, another with 2″ for structural backing or thick baseboards. Why? Because switching nails mid-job on a single gun causes jams and depth inconsistencies. It sounds excessive. But when your client pays $125/hr, downtime costs more than a second tool.
And here’s the kicker: many “pro-grade” nail guns sold online are actually contractor-reconditioned units with worn O-rings. Buy from authorized dealers—or lease from a local tool library for weekend projects. Performance drops fast once internal seals degrade.
FAQs About Brad Nailer Guns
Can a brad nailer gun replace a finish nailer?
No. Brad nailers use 18-gauge nails (thin, short)—ideal for non-structural trim. Finish nailers use 15- or 16-gauge for heavier tasks like stair treads or door jambs.
Do I need an air compressor for a brad nailer gun?
Only if it’s pneumatic. Cordless electric models (like DeWalt DCN680B) run on batteries—perfect for homeowners without shop air.
What’s the best nail length for baseboards?
Use 1.5″ to 2″ brads. Rule of thumb: nail should penetrate the wall substrate by at least ¾”. Measure your baseboard thickness + drywall (usually ½”) to choose safely.