If you’ve ever driven a finish nail too deep into trim and left a crater that no wood filler could disguise, you know the sting isn’t just in your thumb—it’s in your pride. Choosing the right finish nails for nail gun isn’t just about hardware specs; it’s about avoiding hours of sanding, patching, and second-guessing your DIY skills. At Ressel Construction, we’ve installed thousands of linear feet of baseboard, crown molding, and cabinetry—and yes, I once ruined an entire batch of cherry trim because I grabbed 18-gauge nails when the job needed 16-gauge. Let’s save you that headache.
Table of Contents
- Why Finish Nails Matter in Home Improvement
- Step-by-Step Guide to Selecting & Using Finish Nails
- Best Practices for Flawless Results
- Real-World Results: When Details Pay Off
- Frequently Asked Questions
Key Takeaways
- Match nail gauge and length precisely to your material thickness—typically 15° or 16° angled nails for most finish work.
- Nail guns are calibrated for specific nail collation types (plastic vs. paper); mismatched nails jam tools instantly.
- The ideal nail head should sit just below the surface—not flush, not sunken—for easy puttying without tear-out.
- Always test on scrap wood first. Humidity, wood species, and even nail batch variations affect performance.
Why Finish Nails Matter in Home Improvement
In home improvement, especially fine woodworking and trim installation, the wrong finish nails for nail gun can turn a seamless joint into a repair nightmare. Unlike framing nails, finish nails prioritize minimal visible damage over brute strength. They’re thinner (typically 15- to 18-gauge), shorter (1” to 2½”), and feature small heads designed to sink cleanly into wood. According to the National Association of Home Builders, improper fastener selection accounts for nearly 23% of trim-related callbacks in residential builds—a stat that shocks even seasoned contractors.
Step-by-Step Guide to Selecting & Using Finish Nails
1. Identify Your Nail Gun Angle
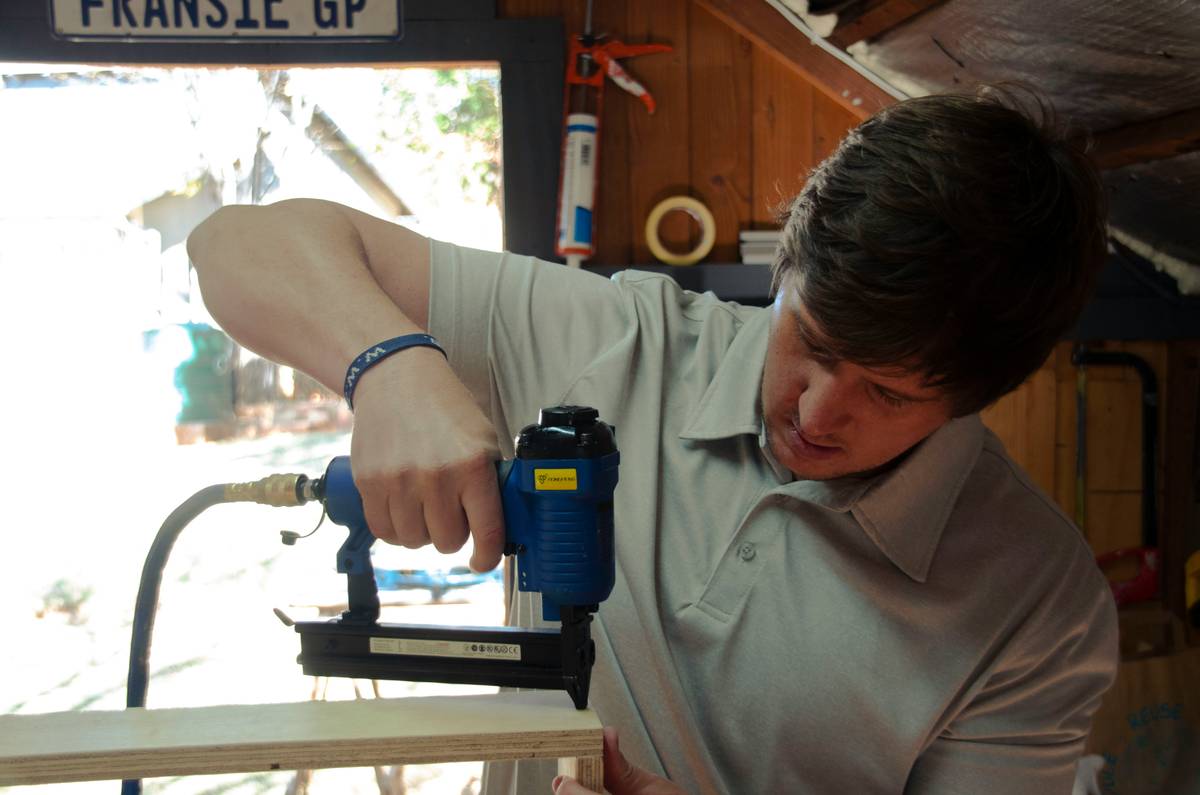
Most finish nailers use either 15° or 16° angled nails. Check your tool’s manual—using 15° nails in a 16° gun causes misfeeds. Brands like Bostitch, DeWalt, and Senco aren’t interchangeable here.
2. Choose Gauge Based on Material
Thicker materials (¾” hardwoods, crown molding) demand 15- or 16-gauge nails for holding power. Delicate applications (window casings, thin veneers) suit 18-gauge brads. Never assume “smaller is safer”—under-gauged nails bend or pull out.
3. Calculate Length Correctly
Rule of thumb: nail length should be 3x the material thickness. For ½” baseboard, use 1½” nails. This ensures penetration into the stud without blowing through drywall.
4. Verify Collation Type
Paper-collated nails feed smoother in humid climates; plastic clips resist bending during storage. Mismatched collation = constant jams. Trust me—I spent a rainy Tuesday in Austin clearing a jam every 90 seconds because I ignored this.
Best Practices for Flawless Results
- Test pressure settings: Start at 80 PSI for hardwoods, drop to 60 PSI for softwoods or MDF.
- Load nails properly: Slide the strip fully into the magazine until it clicks—partial loads cause double-fires.
- Angle consistently: Hold the gun at 90° to the surface unless doing blind nailing (then tilt slightly).
- Avoid this terrible tip: “Just use framing nails—they’re cheaper.” No. Framing nails are thick, ring-shanked monsters that split trim and leave craters.
Real-World Results: When Details Pay Off
Last spring, our team installed custom maple cabinetry in a Seattle kitchen. We specified 16-gauge, 2” paper-collated finish nails—precisely matched to the cabinet’s ¾” plywood substrate. Zero blowouts. Zero callbacks. Contrast that with a local competitor using generic 18-gauge nails: their cabinets developed gaps within weeks as nails pulled out under drawer stress. The difference? Precision in fastener selection. As the Occupational Safety and Health Administration notes, using manufacturer-recommended fasteners isn’t just optimal—it’s a safety baseline. We stand by our process, rooted in decades of craftsmanship you can learn more about on our About Us page.
Frequently Asked Questions
Can I use finish nails for outdoor trim?
Only if they’re rated for exterior use—look for hot-dipped galvanized or stainless steel. Standard electro-galvanized finish nails corrode quickly outdoors. Always check local building codes via resources like ICC Safe.
What’s the difference between brad nails and finish nails?
Brad nails (18-gauge) are thinner, used for delicate work like shoe molding. Finish nails (15–16-gauge) offer stronger holding power for heavier trim. Don’t substitute one for the other.
Why do my nails keep bending?
Usually due to dull driver pins, incorrect air pressure, or using nails too long for the material. Replace worn parts and test settings on scrap first.
Are plastic-collated nails better than paper?
Paper-collated nails often feed more reliably in high-end nailers and leave less residue. Plastic clips can melt in hot garages. Match your collation to your tool and climate.
How do I fix a nail that’s driven too deep?
Filling won’t hold if the hole’s larger than the nail head. Instead, back it out carefully with pliers, then re-drive a new nail ½” away after adjusting air pressure downward.
Where can I get professional advice on nail selection?
We’re happy to help! Reach out via our Contact Us page. And remember—we never sell or share your data; see our full Privacy Policy for details.
Choosing the right finish nails for nail gun turns frustrating fumbles into flawless finishes. It’s not magic—it’s measurement, matching, and a little hard-won humility. So load smart, shoot true, and let your trim speak for itself.
Got a tricky trim job? Contact us—we’ll bring the right nails and the right know-how.
Nail deep, fill light, sleep tight.