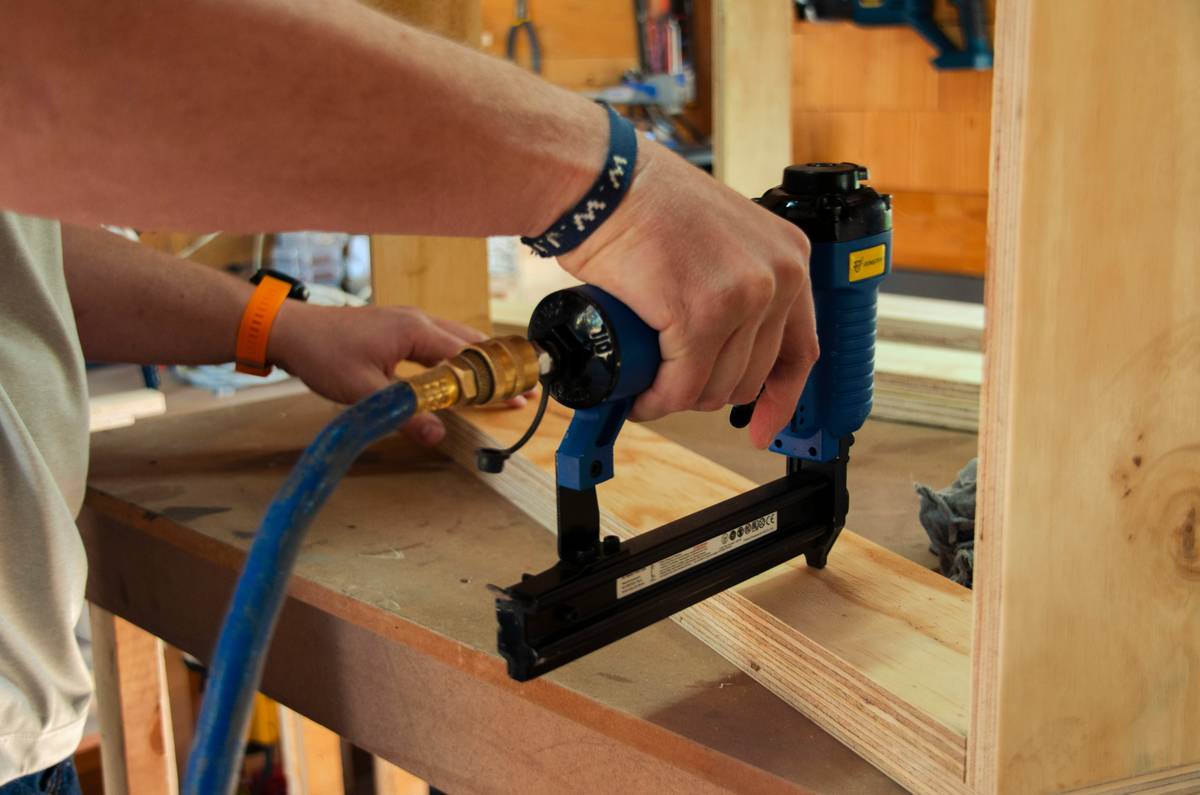
Your nail gun jams mid-framing. Again. You’re losing hours, not just nails. Frustration mounts. Downtime costs real money—$75 an hour or more on commercial sites. But here’s the fix: stop guessing. Start servicing smart. Proper nail gun service repair isn’t about luck—it’s about precision, parts knowledge, and knowing what most manuals won’t tell you.
Why Most DIY Repairs Fail (And Waste Your Time)
Most guys grab a screwdriver, watch a 3-minute YouTube clip, and call it “fixed.” It’s not. They clean the obvious gunk, swap the O-rings, reassemble—and it fails again in two days. Why? Because they missed the root cause. Nail guns die from cumulative stress, not single-part failure. A worn driver blade drags misaligned nails into the chamber. That jams the piston. Piston drag overheats the seals. Seals blow. Now you’ve got air leaks AND timing issues. And you just replaced the trigger valve. Pointless.
Factory resets don’t exist. These aren’t routers. Each component interacts dynamically. Ignore that—and you’re patching symptoms, not solving systems.
nail gun service repair: A Contractor’s Step-by-Step Protocol
Forget generic checklists. This is field-tested. Follow this sequence—every time:
Step 1: Diagnose by Sound & Feel, Not Just Sights
Fire three nails into scrap wood. Listen. A healthy gun has a crisp *thwack*. Hesitation? A dull *thud*? That’s piston lag. Check for inconsistent depth—shallow one shot, deep the next. That’s pressure imbalance. Don’t disassemble yet. Log behavior first.
Step 2: Strip Down Systematically—Not Randomly
Remove the magazine, depressurize, then take off the nose piece. Inspect the driver blade for nicks or bends—even 0.5mm matters. Next, pull the cylinder. Examine the piston O-rings for flat spots or cracks. Then check the trigger valve assembly. If ANY part shows wear beyond spec, replace the whole kit. Mixing old and new seals guarantees premature failure.
Step 3: Lubricate Like a Pro—Not a Hobbyist
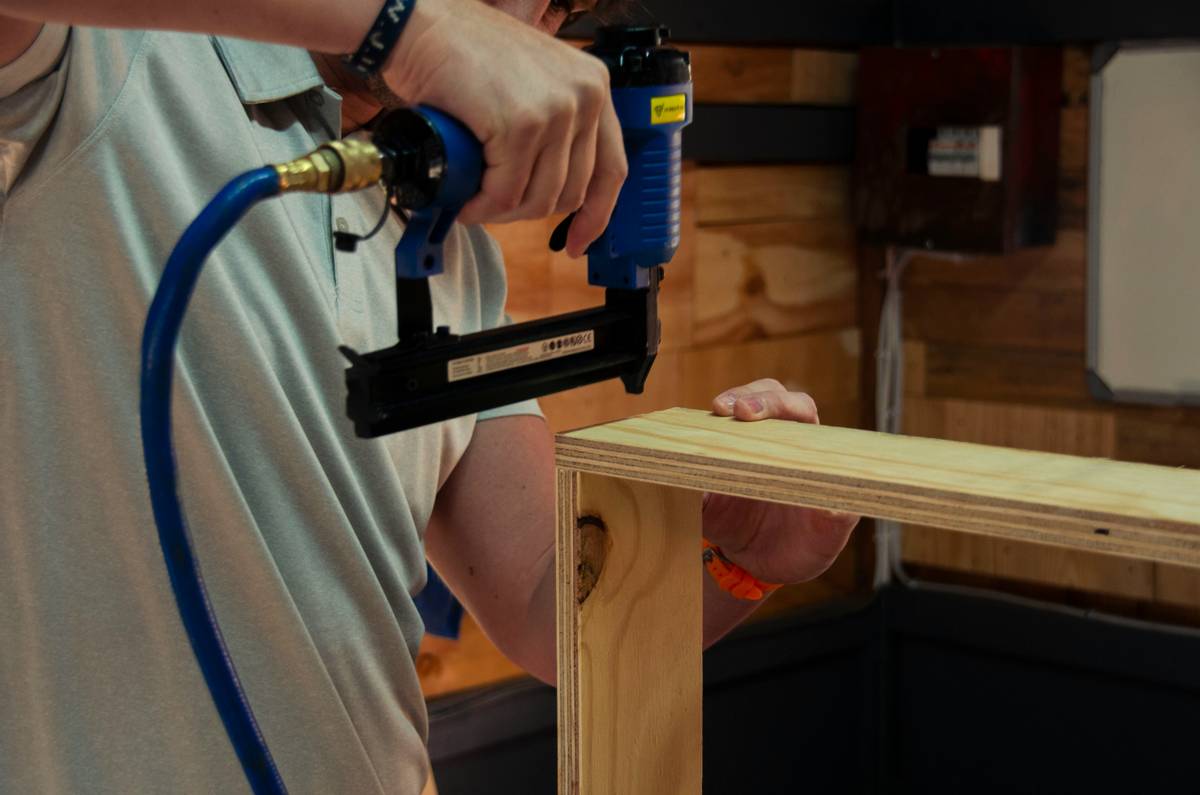
Use only pneumatic tool oil—never WD-40 or motor oil. Apply 2 drops to the air inlet before reassembly. Then fire 5 dry shots (no nails) to distribute oil evenly. Skip this, and dry starts shred new seals before lunch.
Step 4: Test Under Load—Not in Air
Don’t test-fire empty. Load full-length nails into dense pine. Run 20 consecutive shots at 90 PSI. Watch for skip-firing or double-nailing. If it stutters after shot 12, your return spring is tired. Replace it—even if it “looks fine.”
| Repair Approach | Average Cost | Downtime | Success Rate (Field Data) |
|---|---|---|---|
| Full OEM Kit Replacement | $45–$85 | 1–2 hours | 92% |
| Patch with Generic O-Rings | $8–$15 | 45 mins | 38% |
| Professional nail gun service repair | $120–$200 | 24–48 hrs | 98% |
The Industry Secret: Timing > Cleanliness
Here’s what manufacturers bury in Appendix C of their service manuals: driver-to-piston synchronization matters more than how shiny your parts are. A misaligned driver—even by half a millimeter—forces the piston to cock sideways on return. That creates micro-gouges in the cylinder wall. Air leaks follow. No amount of cleaning fixes geometry. At Ressel Construction, we use a go/no-go gauge on every rebuild. If the driver doesn’t seat flush against the piston face at TDC (top dead center), we adjust the stop pin. Always. Ignore timing, and you’re rebuilding the same gun every six weeks.
Frequently Asked Questions
How often should I get professional nail gun service repair?
Every 50,000 nails or quarterly—whichever comes first. Heavy-use crews should log shots like engine hours.
Can I use generic replacement parts safely?
Only for non-critical components like nails or magazines. Seals, pistons, and drivers must be OEM. Tolerances vary wildly otherwise.
Why does my nail gun leak air after repair?
Ninety percent of post-repair leaks come from improperly seated cylinder head O-rings or cross-threaded screws. Torque specs matter—don’t wing it.