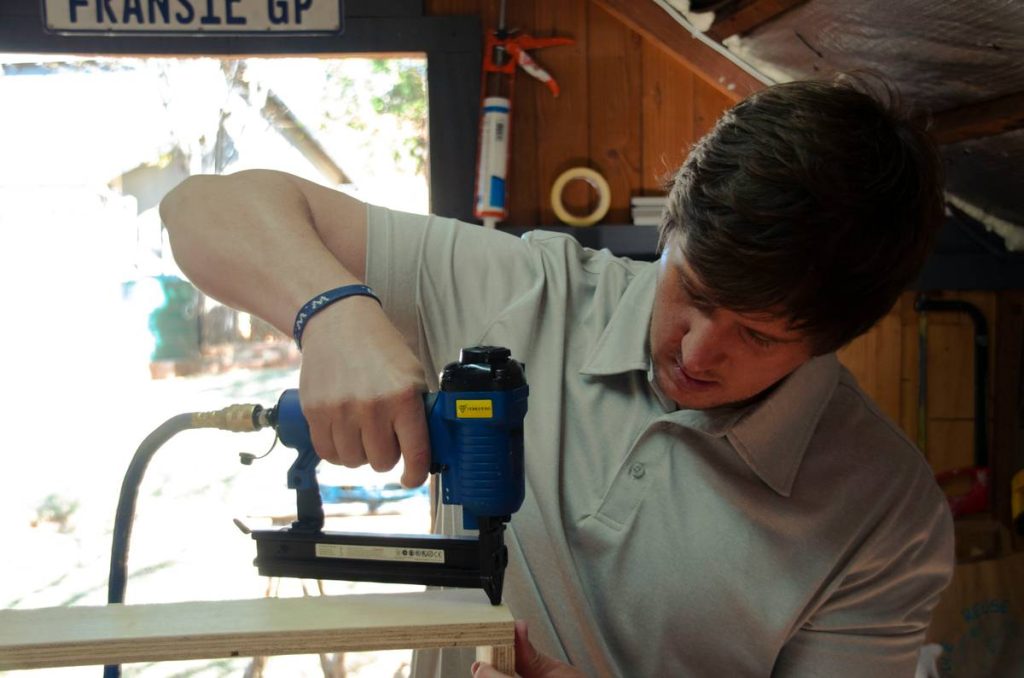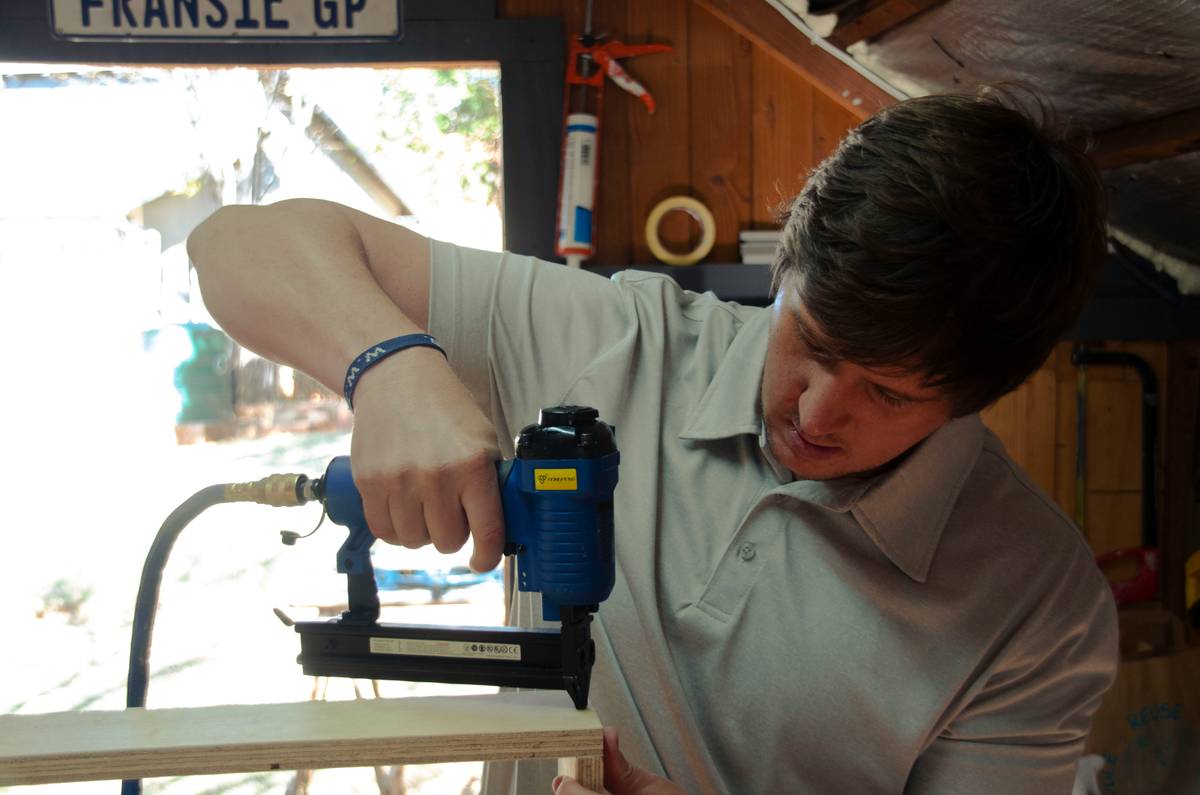
If you’ve ever stood in the Tools & Hardware aisle at Home Depot, overwhelmed by cordless nailers, pneumatic drivers, and framing beasts, you’re not alone. I once bought a finish nailer thinking it could handle deck boards—spoiler: it shattered two boards and nearly my confidence. The truth? Choosing and using the right nailing guns home depot offers isn’t just about power—it’s about precision, project match, and avoiding rookie errors that waste time and money.
In this guide, we’ll cut through the noise with hard-won insights, actionable steps, and real data so you can select, operate, and maintain your nail gun like a seasoned pro—without the headache.
Table of Contents
- Why Nail Guns Matter in Home Improvement
- Step-by-Step Guide to Choosing & Using Your Nail Gun
- Top 5 Best Practices for Safe, Efficient Nailing
- Real-World Results: Case Studies from DIYers
- Frequently Asked Questions
Key Takeaways
- Nail guns vary by project type—framing, finishing, and roofing each demand specific tools.
- Home Depot stocks reliable brands like DeWalt, Bostitch, and Paslode—but compatibility matters more than brand loyalty.
- Always wear safety glasses and disconnect air/power before clearing jams.
- Air compressor specs must match your pneumatic nailer’s CFM requirements.
- Renting first can save hundreds if you’re tackling a one-off job.
Why Nail Guns Matter in Home Improvement
Speed, consistency, and reduced fatigue—these are the holy trinity of modern DIY. According to the U.S. Bureau of Labor Statistics, over 40% of home renovation injuries stem from improper tool use, with nail guns accounting for nearly 37,000 ER visits annually. Yet when used correctly, they transform weekend warriors into efficient builders.
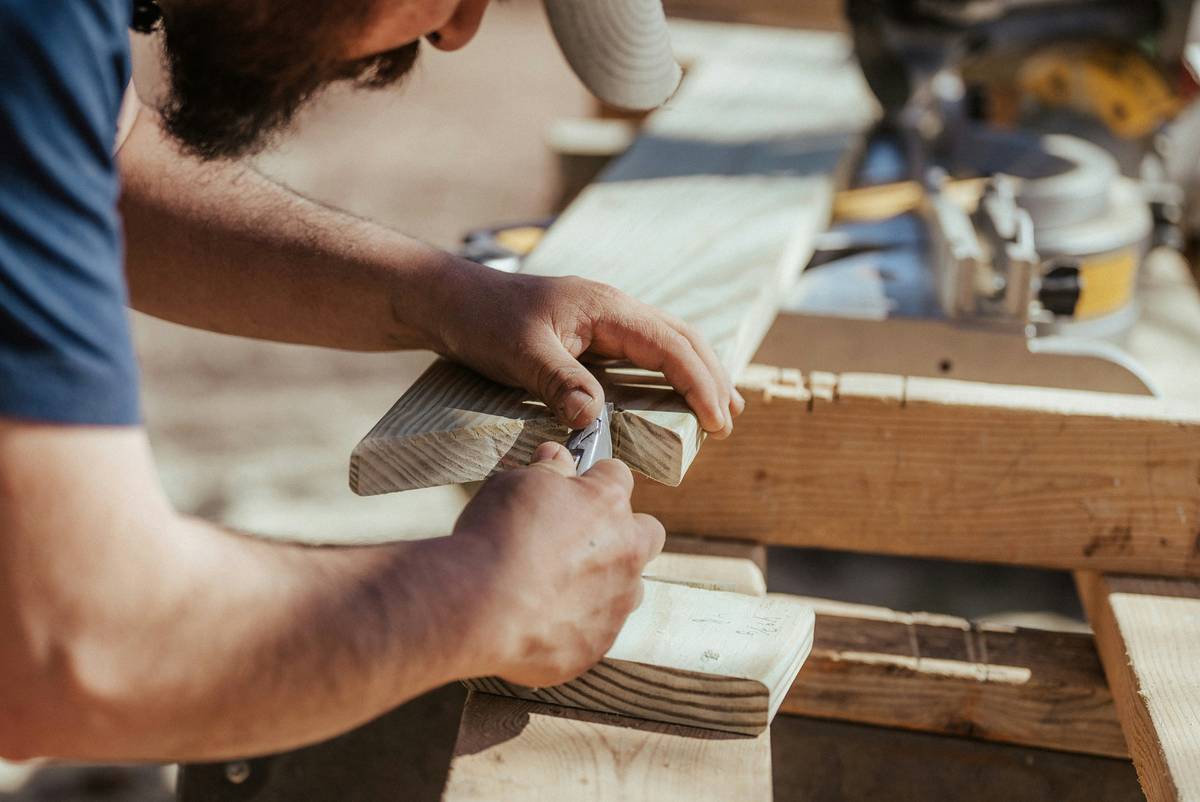
At Ressel Construction, we’ve seen clients attempt crown molding with framing nailers—a recipe for cracked trim and frustration. The key is matching the tool to the task. Framing nailers drive 2–3.5” nails for structural work; finish nailers handle 1–2.5” brads for trim; brad nailers tackle delicate cabinetry. Misalignment here causes blowouts, bent nails, or worse—kicked-back tools.
Step-by-Step Guide to Choosing & Using Your Nail Gun
1. Identify Your Project Type
Are you building a deck (framing), installing baseboards (finish), or assembling furniture (brad)? This dictates nail length, gauge, and power source.
2. Choose Power Source: Pneumatic vs. Cordless
Pneumatic models (air-powered) offer consistent driving force but require a compressor. Cordless (battery or fuel-cell) provide portability but may lose power mid-job. Home Depot’s top sellers include the DeWalt DCN692B (cordless framing) and Bostitch N66C-1 (pneumatic finish).
3. Check Compatibility & Specs
Verify your compressor delivers enough CFM (cubic feet per minute). A typical framing nailer needs 2.5–4.0 CFM at 90 PSI. Underpowered compressors cause misfires—a common but avoidable error.
4. Load Nails Correctly
Always unplug or disconnect air first. Insert a full clip, ensuring nails align with the driver path. Never force a jammed strip—it bends internal components.
5. Test on Scrap Wood
Before touching your actual material, fire 3–5 nails into scrap to check depth, alignment, and spacing.
Top 5 Best Practices for Safe, Efficient Nailing
- Wear ANSI-approved safety glasses—flying nails and wood shards are no joke.
- Never bypass the safety contact tip. Yes, it slows you down—but it prevents accidental discharge. (This is the “terrible tip” some YouTubers push: taping the trigger down. Don’t.)
- Lubricate pneumatic nailers weekly with 2–3 drops of pneumatic oil to extend lifespan.
- Store nails in dry conditions—rusty fasteners jam mechanisms and cause inconsistent drives.
- Clean after every use. Compressed air blasts out sawdust; a soft brush clears the nosepiece.
Real-World Results: Case Studies from DIYers
Mark T., a homeowner in Ohio, rented a Hitachi NR90AE from Home Depot to install hardwood floors. By following depth-adjustment guidelines and using 2” cleats, he completed 800 sq. ft. in under 6 hours—with zero misfires. His secret? He watched tutorial videos from OSHA’s Nail Gun Safety page beforehand.
Conversely, Sarah L. bought a cheap $79 cordless model online for trim work. It lacked depth control, leaving nail heads proud on her wainscoting. She later upgraded to a Bostitch BC33PT from Home Depot and redid the job flawlessly. Lesson? Price isn’t everything—but reliability is.
Frequently Asked Questions
Can I rent nailing guns home depot instead of buying?
Yes! Home Depot offers daily/weekly rentals on most pneumatic and cordless models—ideal for one-time projects. Check availability in-store or online.
What’s the difference between a brad nailer and a finish nailer?
Brad nailers use 18-gauge nails (thinner, less holding power) for delicate work like picture frames. Finish nailers use 15- or 16-gauge nails for heavier trim like baseboards and crown molding.
Do I need an air compressor for all nail guns?
No. Only pneumatic models require compressors. Cordless electric or gas-powered nailers are self-contained.
How often should I maintain my nail gun?
Lubricate weekly if used regularly; clean after every job. Store in a dry case to prevent moisture damage.
Are nailing guns home depot products covered by warranty?
Most new units come with 1–3 year manufacturer warranties. Keep your receipt and register online if required. For support, visit our Contact Us page—we’re happy to help diagnose issues.
Is it safe to use a framing nailer for trim?
Absolutely not. Framing nails are too long and thick—they’ll split molding and create unsightly holes. Always match the tool to the task.
Ready to tackle your next project with confidence? Don’t gamble with mismatched gear. Contact us for personalized advice—or swing by Home Depot with this guide in hand. And remember: measure twice, nail once… and always respect the trigger.